
Contacts – Import Contacts
Last modified on November 15th, 2022 at 3:57 am
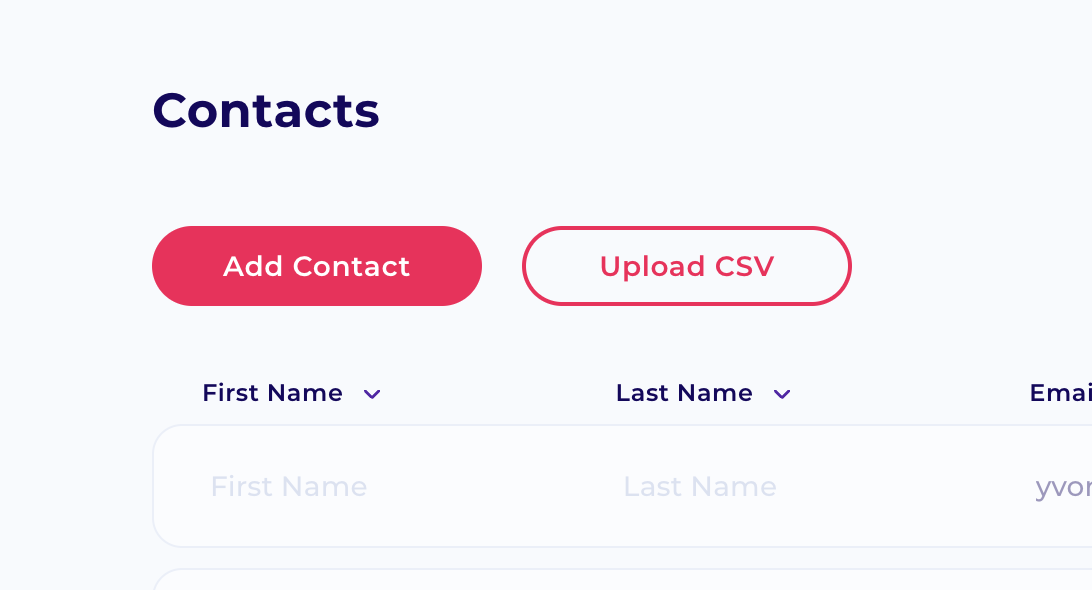
We’ve made it easy to add contacts to Byta. If you’re a paid user, you’ll have access to a contact list that allows you to easily search and share with your contacts—and every time a new contact is sent a share they will be automatically added to your saved contacts. However, there are many instances where our users have existing contact lists that they wish to pull into Byta. This is easily done with our “Import Contacts” functionality. Read more about adding contacts below.
Importing your contacts via .CSV upload
When you’re using Byta to share links, files, and other content with your contacts, we’ve got you covered. Our contact list lets you search and share with your contacts quickly and easily.
But what if you have an existing list of contacts that you want to pull into Byta? It’s simple! Follow these steps:
- Click the “Import Contacts” button in the top right-hand corner of the screen.
- Select the CSV file containing all of your contacts from your computer.
- Select a format for each column within that CSV file (if desired).
- Click “Import”.
- That’s it! Your new contacts will now appear in your saved contact list on Byta’s dashboard!
To take full advantage of our tagging functionality we recommend following the steps laid out in Import Tagged Contacts for easy sharing to tag groups.
Download our example CSV (with tags)
I am seeing “0 Contacts added” despite my CSV having contacts in it
Before importing your contacts it’s best to ensure that your CSV file has been configured with the correct settings.
– Each field is separated by a comma
– Contact names are split into two separate columns, first name and last name
– Each column has a line header, First Name, Last Name, Email
I am following the correct column setting but my file still isn’t working?
Sometimes if you are still facing issues it is due to the CSV being saved incorrectly. Please use the below steps to convert to the correct format:
Convert from CSV to CSV
If you are unsure your file is in the correct CSV format we suggest converting it:
- Navigate to CSV Converter
- Convert to CSV with the settings: ‘first row is column names’, field separator = Comma
Convert from vCard to CSV (including apple contacts.app & mail.app users)
- Export your contacts as a vCard from contacts.app in OSX
- Navigate to vCard Converter
- Convert to CSV with the settings: CSV, comma, ‘Add Header Line’, ‘cards with e-mail only’