
Audio – Edit Metadata from Your Audio Library
Last modified on November 15th, 2022 at 4:02 am
We know that metadata can be confusing. That’s why our team has put together a short guide to help you understand the basics of audio metadata.
Metadata is what powers Byta, and it compiles all metadata from your files when you upload your audio, allowing you to view, update, and approve all embedded information about your tracks before sending files. However, sometimes you will need to edit embedded audio file metadata once it has reached your Audio Library.
Do you need to update your metadata?
You can edit your file metadata with Byta’s paid plan.
If you’re a paid plan user, you may have noticed that some of your files have incorrect metadata and others don’t have any at all—that’s because our algorithm determines which pieces of information to include in a file’s metadata based on its sound content. We work hard to ensure that every piece of information we include as part of a file’s metadata is accurate, so if you find yourself with incorrect information or no information at all for some of your files, don’t worry! We’ve got you covered.
If you are using Byta, paid plan users can edit the metadata for any file after it has been approved and added to their audio library by following these steps:
Editing embedded audio Metadata from your Audio Library
Users may quickly edit file metadata and artwork direct from their Audio library:
- Click the extended menu button on the right side of the audio card on hover.
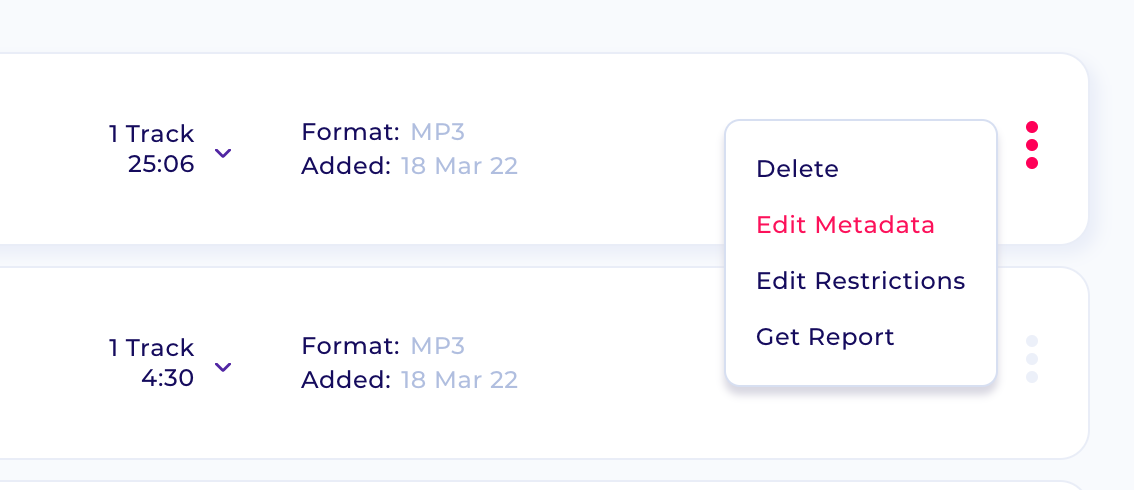
- Click the “Edit Metadata” option.
- All fields will become editable; make necessary changes.
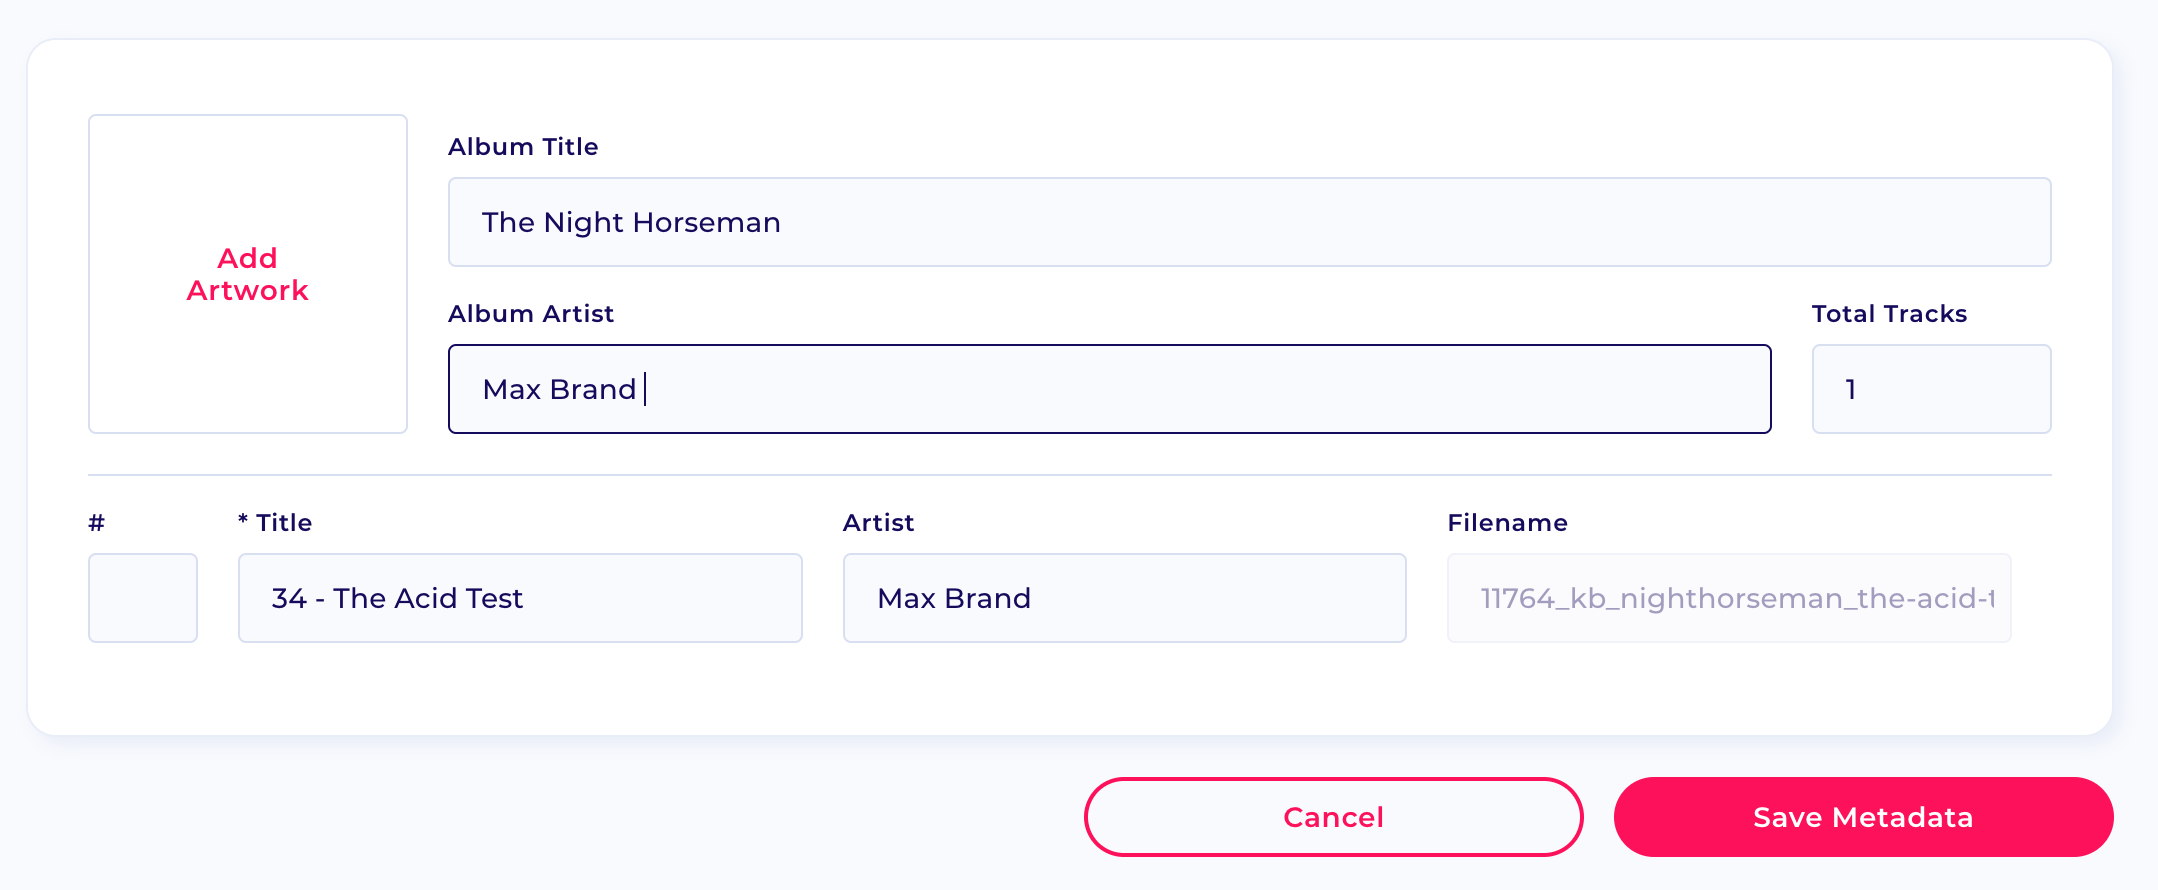
- Click “Save Metadata” or “Cancel” to close.
Saving your changes will update the file metadata in your audio library. Changes for live shares will update once Byta has completed processing the changes. Note: this can sometimes take a couple of minutes.
Remove Tracks from an album.
When removing a single track from an album, there are two options available:
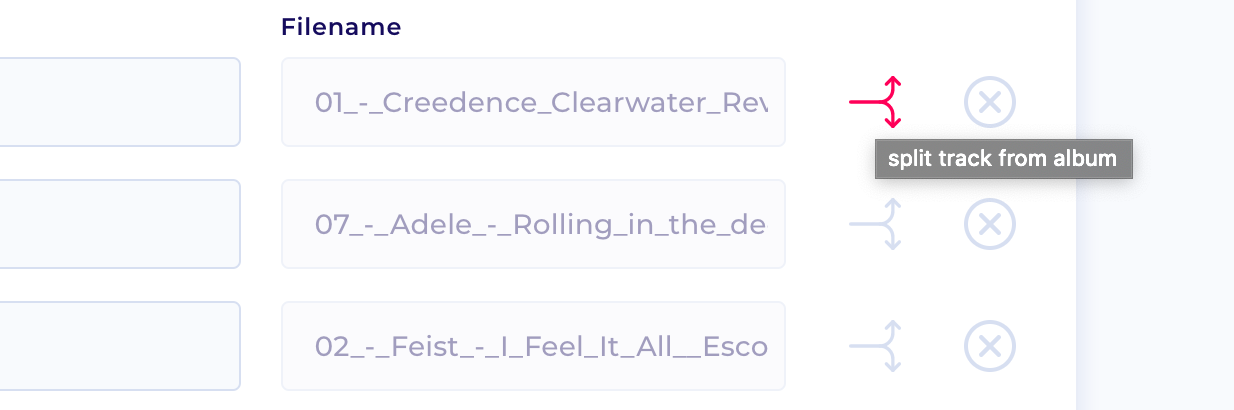
- Split the track out of the album and convert it to a single track with no album tag.
To keep the track but remove it from the album, click the “split from album” icon and close the edit metadata view by clicking the “cancel” button. Removing an album tag will mean that the single track will now be displayed in your Audio library by itself.
- Delete track completely
To remove a track from your album and entirely from your audio library (perhaps it is a duplicate), click the delete button via the edit metadata screen.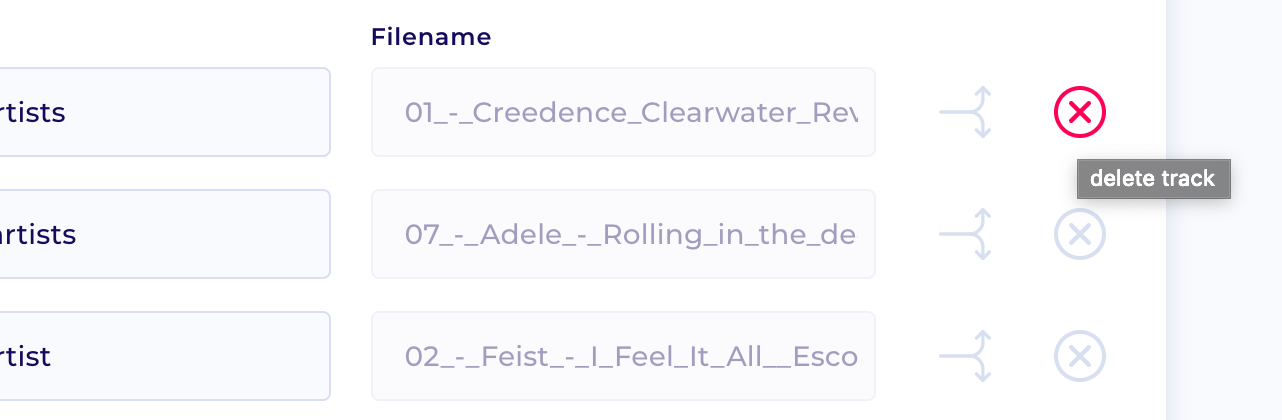
Merging tracks into an existing album
If you want to add a track to an album, open the edit metadata view and set the album name and artist to match the parent album.
Learn more about Metadata
Read more about how Byta deals with metadata in our article File Formats & Metadata Explained. To learn more about the importance of file metadata, read this comprehensive article on Landr: Metadata for Musicians: What It Is and Why It’s Vital.