
Audio – Uploading Audio to Byta
Last modified on November 15th, 2022 at 3:44 am
The upload process is the same, whether you upload directly to the share page or add audio to your audio library for future sharing. There are two steps to adding to Byta, uploading the audio files and then editing the metadata.
Uploading Audio with Byta
The first step to adding audio to Byta is to upload your files. Users can add any combination of singles and albums in any of Byta’s supported file formats. To add your files, follow the steps below:
- To start uploading, drag and drop your files anywhere on your Share or Audio pages or click the “upload files” button.
- When your files are added, you will be able to see your files in the scrollable pane with their upload status:
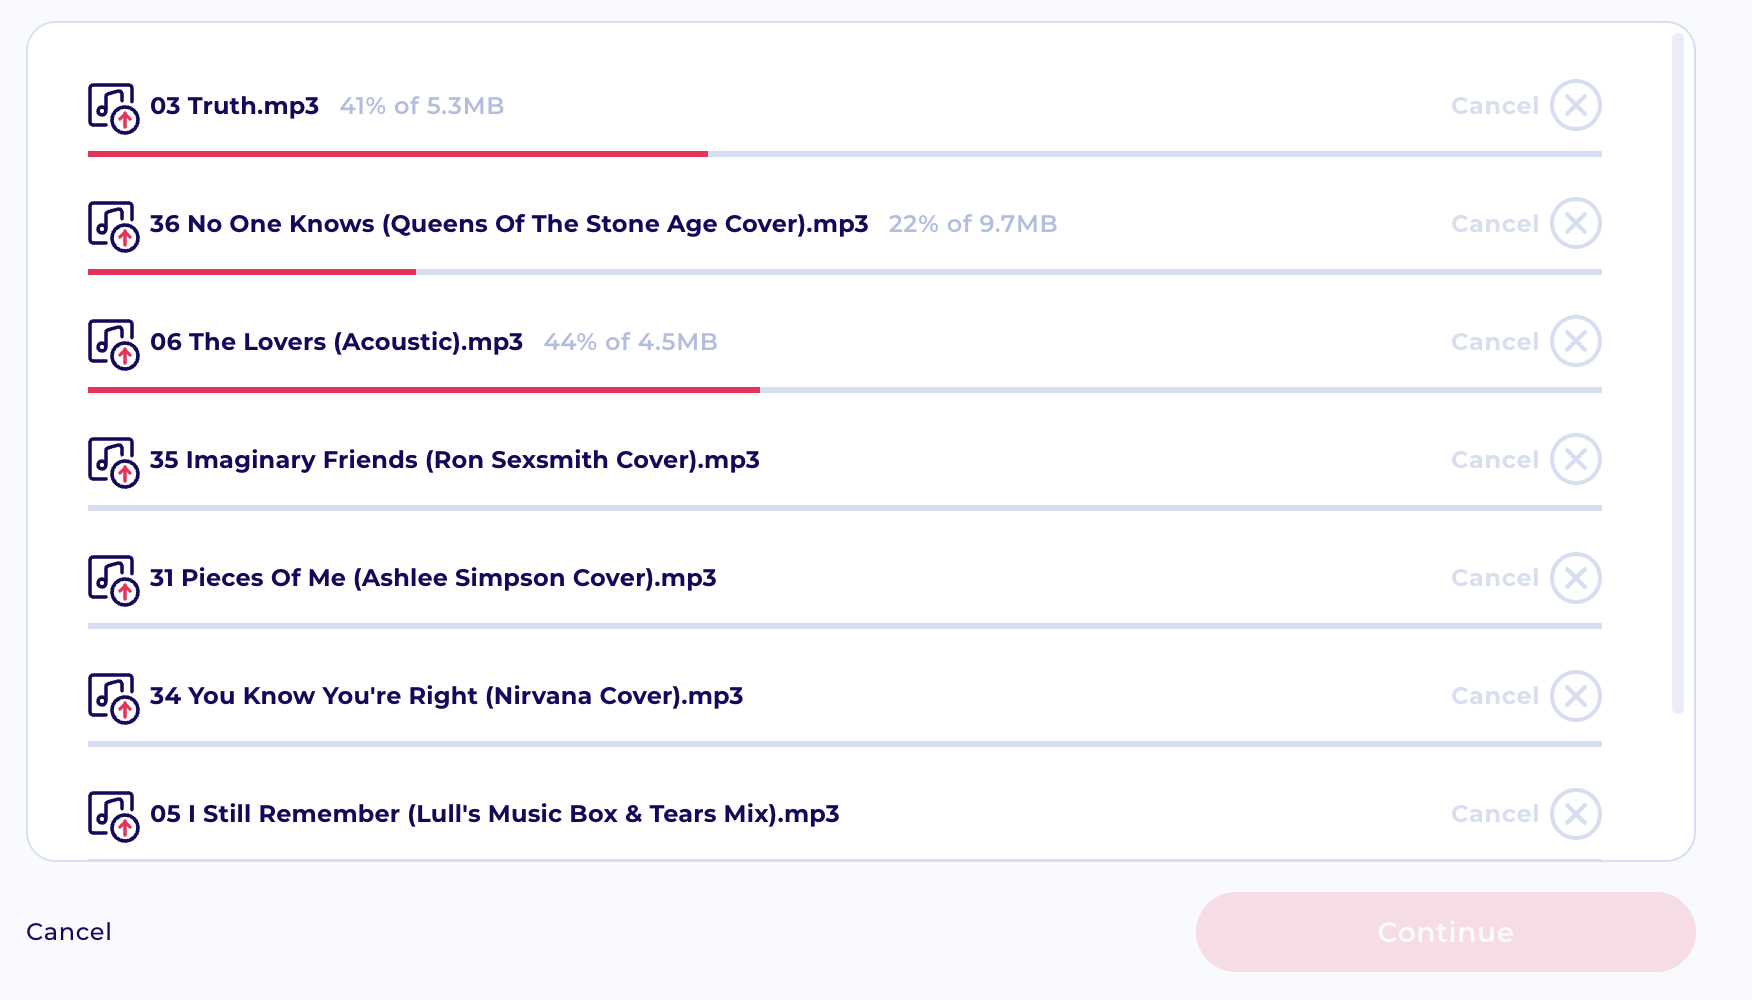
- Once files have finished uploading, click the “Continue” button to move to the Edit Metadata page.
Editing your file metadata
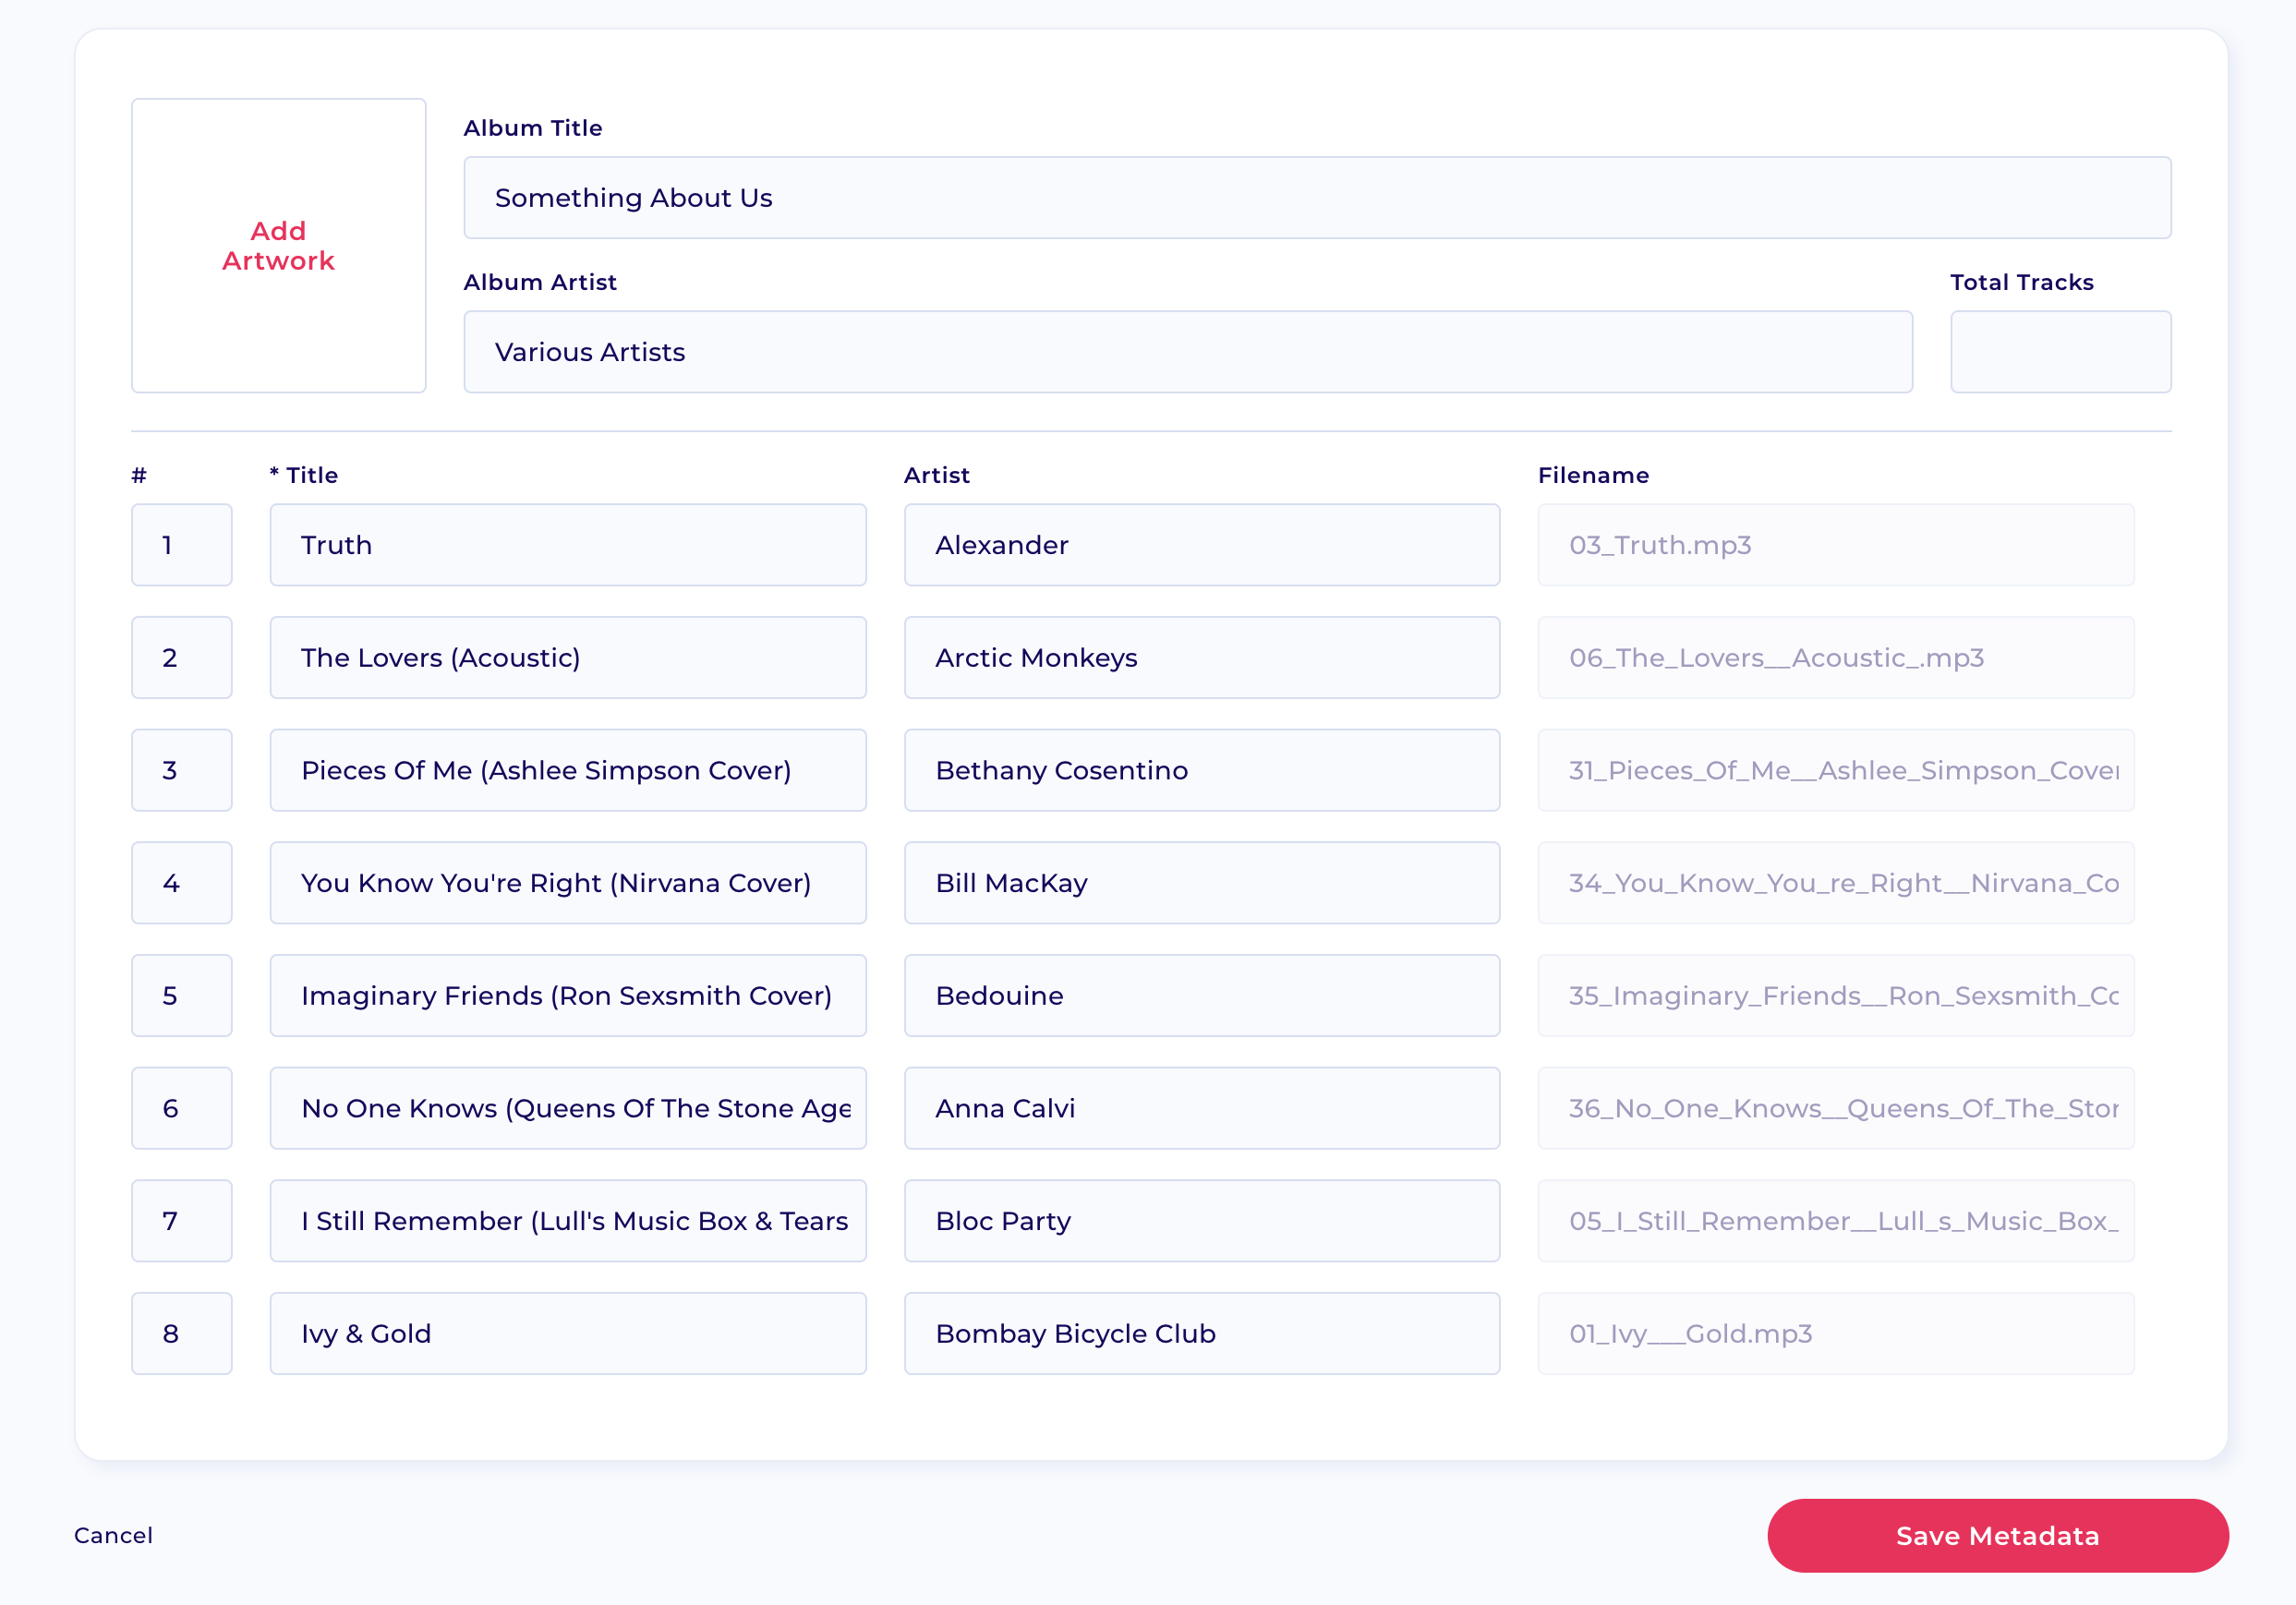
The final step of adding your audio files is to edit and approve your embedded metadata. Metadata powers Byta; all information relating to your audio files is determined at this point (changes can be made later, read more here). It is important to make sure you have the correct information:
- Check/add the artwork (read about adding artwork to WAVs)
- If your files are part of an album, ensure “album name” is filled. If you are working with singles only, keep this blank.
- The same applies to “Album artist” tags. If you fill out “Album Artist”, the artist name does not need to be populated unless it differs from the rest of the album (think featured artists etc.)
- Update Track numbers – changing these will update the order in which your tracks will display once added to Byta.
- Fill out track names.
- Fill out the “Artist’ tags for singles or tracks with different artists to the main album artist.
- Click save to complete editing and return to your share or audio page.
Note: If your metadata has changed significantly or you are uploading large files, then your audio may display as “processing” for a short while on your Audio page, and Shares may take some time before recipients begin receiving them.
Merge Album
If your tracks don’t have the correct metadata, they may display as separate files at the edit metadata stage. There are two ways to merge your tracks into 1 album:
- Merge Album button
If you have multiple tracks uploaded with no album tag attached, a button will appear at the top of the page that will allow you to merge all tracks into one album and update details across all tracks easily. Click to group all tracks together, click again to separate. - Merge by adding the same Album and Album Artist Names
Tracks can also be merged into an album by adding in the same “Album” and “Album Artist” tags as the album. This won’t visually display as merged on your edit metadata page, but it will display as part of the album once you proceed to the Share or Audio pages.
This works for adding tracks to existing albums already saved in your audio library. Ensure that you add the correct track numbers to make sure the track sits in the correct place within your album.
Get Names
If you upload your tracks without metadata attached, you can use the filenames to populate the track titles. Click the “Get Names” button at the top of the page, and your track names will populate; click again to clear the names.